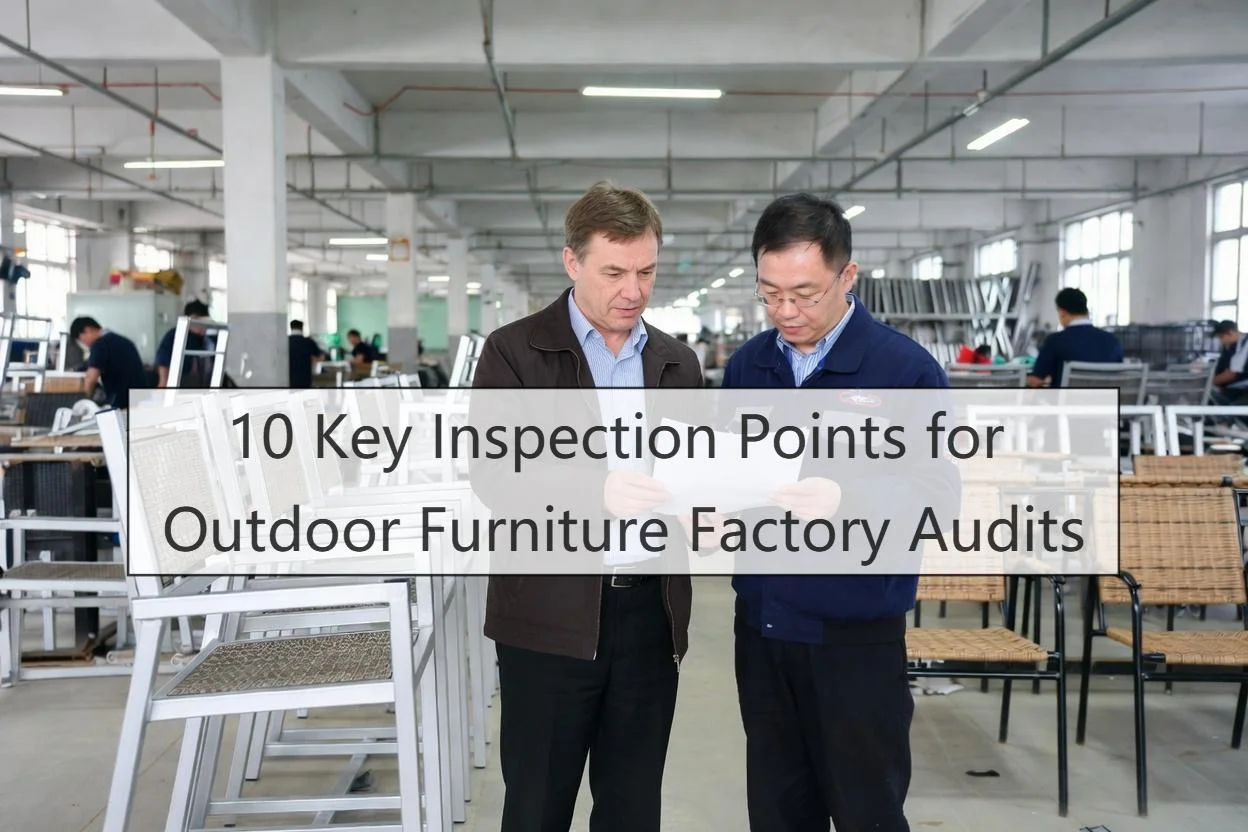
I have managed quality control for 15 years. My team ran over 500 factory audits last year. We work with the biggest outdoor furniture brands in the world. We built this testing plan using our real data. I wrote this guide to help you build a bulletproof testing workflow.
Retail sourcing directors, QA leaders, and supply chain VPs cannot risk these failures. You need an outdoor furniture durability testing workflow to screen suppliers before releasing a purchase order and prior to shipment.
This guide shows you exactly how to test outdoor furniture. We start at the factory floor. We end with the final shipping approval. Follow these steps to catch defects early. Expect original defect data, our proprietary garden furniture AQL protocol, and the aluminum frame failure that forced an anodizing correction.
Author’s Methodology: I built this framework using 500 anonymized OGPSGroup factory audits and official BS EN 581 testing standards.
I receive no manufacturer kickbacks, keeping our quality control services completely objective.
Prerequisites of Outdoor Furniture Durability Testing
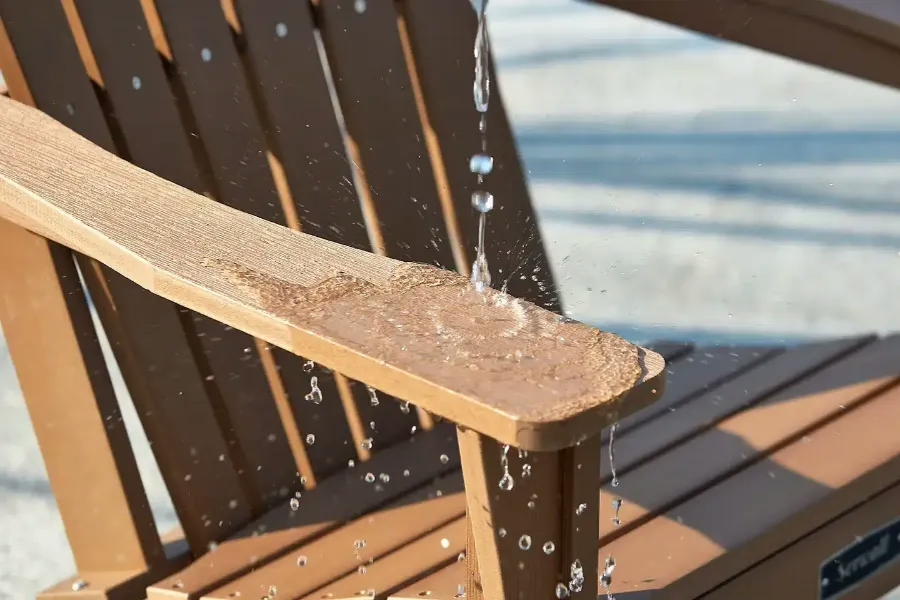
I treat this phase as a strict procurement gate. In my experience, outdoor furniture durability testing never begins until these variables are frozen.
- The Evidence File: Secure an approved golden sample, BOM, engineering drawings, and finish specifications. On the floor, a prepared file feels traceable.
- SKU Classification: Define your warranty promise and target market. Classify each item upfront: domestic, contract, hospitality, rooftop, coastal, or camping. This choice dictates your entire test matrix.
- Standards Map: Secure official methodologies: BS EN 581-1, BS EN 581-2, and EN 581-3. For weathering, download ISO 9227, ASTM G154, and ISO 4892-3. We also mandate ISO 2859-1 and ASTM D3359.
- Testing Pathways: Use EN 581 plus ASTM/ISO weathering for EU markets. For North American retail, I build buyer-specific internal over-test margins.
⚠️ Safety First: Never trust a supplier email claiming “EN 581 compliant.” I strictly require an accredited lab report matching the exact SKU revision. Furthermore, ASTM B117 and ISO 9227 only define the salt-spray method.
You must define failure criteria. Similarly, ASTM G154 UV results mean nothing unless your report states the exact cycle, lamp, moisture pattern, and duration.
5-Step Guide to Outdoor Furniture Durability Testing
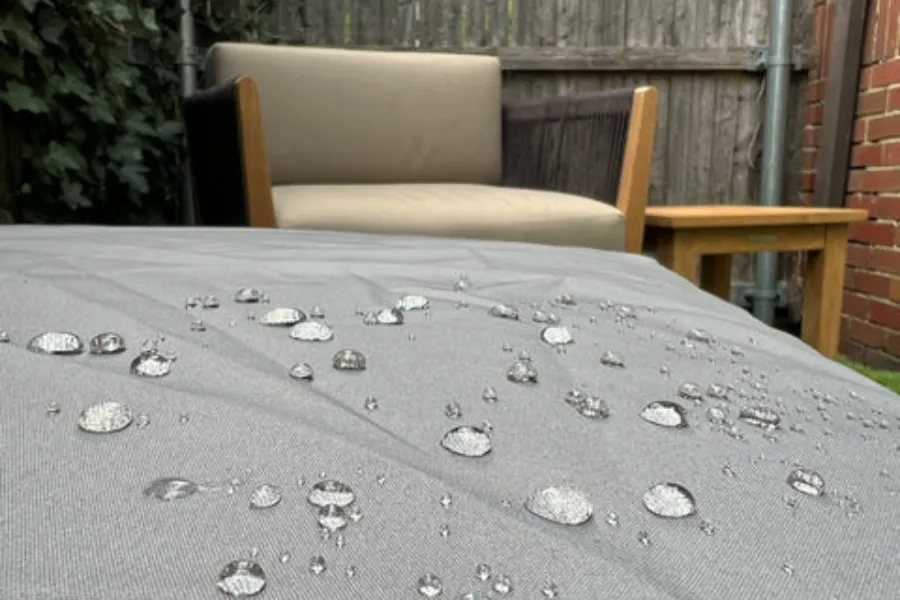
I start with a physical sensory check of the approved sample. Press down on the frame to verify it sits flat. Test the swivel and recline mechanisms. They must feel controlled. If a joint telegraphs looseness now, it will fail formal testing later.
Next, build your master test matrix. Define the SKU type, intended use, market, structural test family, weathering test family, inspection plan, and release owner.
Step 1: Build the Performance Matrix and Sensory Check
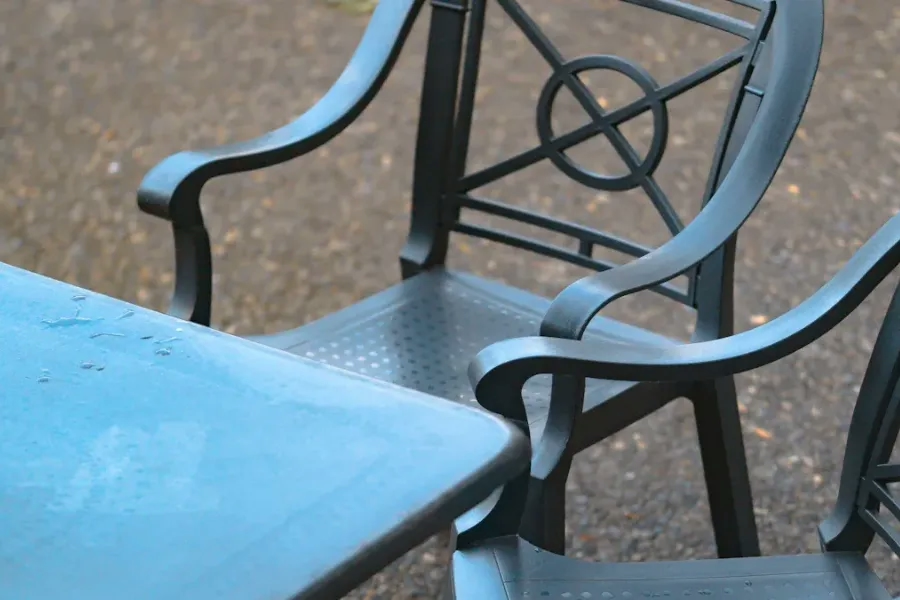
For screen readers, your matrix columns map product families to specific governing standards. Group dining chairs, lounge chairs, sofas, and bar sets under EN 581 seating logic.
Group dining tables and coffee tables under EN 581 table logic. Build separate matrices if you source mixed collections across different factories. Combine them if the supplier produces both categories in one facility.
You must set exact pass or fail limits. Do not use vague terms. Set your static load limit to 110kg — the EN 581 baseline user weight. Require at least 25,000 fatigue cycles for dining chairs. These strict numbers remove all guesswork. The lab will know exactly when to fail a bad product.
Explicitly distinguish baseline standard thresholds from internal over-test margins. This separates basic compliance from OGPSGroup risk buffering. You will finish with a signed one-page test matrix. Attach this matrix to the purchase order and supplier development file.
⚠️ Experience Warning: During a recent Foshan audit, a supplier passed the standard EN 581 static load test but failed our internal fatigue-cycle margin. The matrix exposed this gap before mass production started, saving the client from a massive recall.
Step 2: Execute the Factory Floor Process Audit
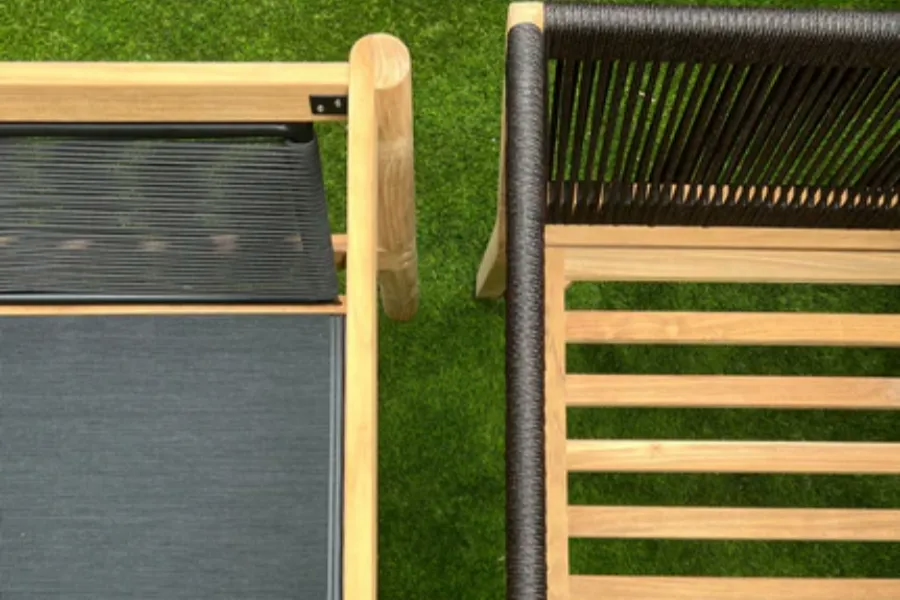
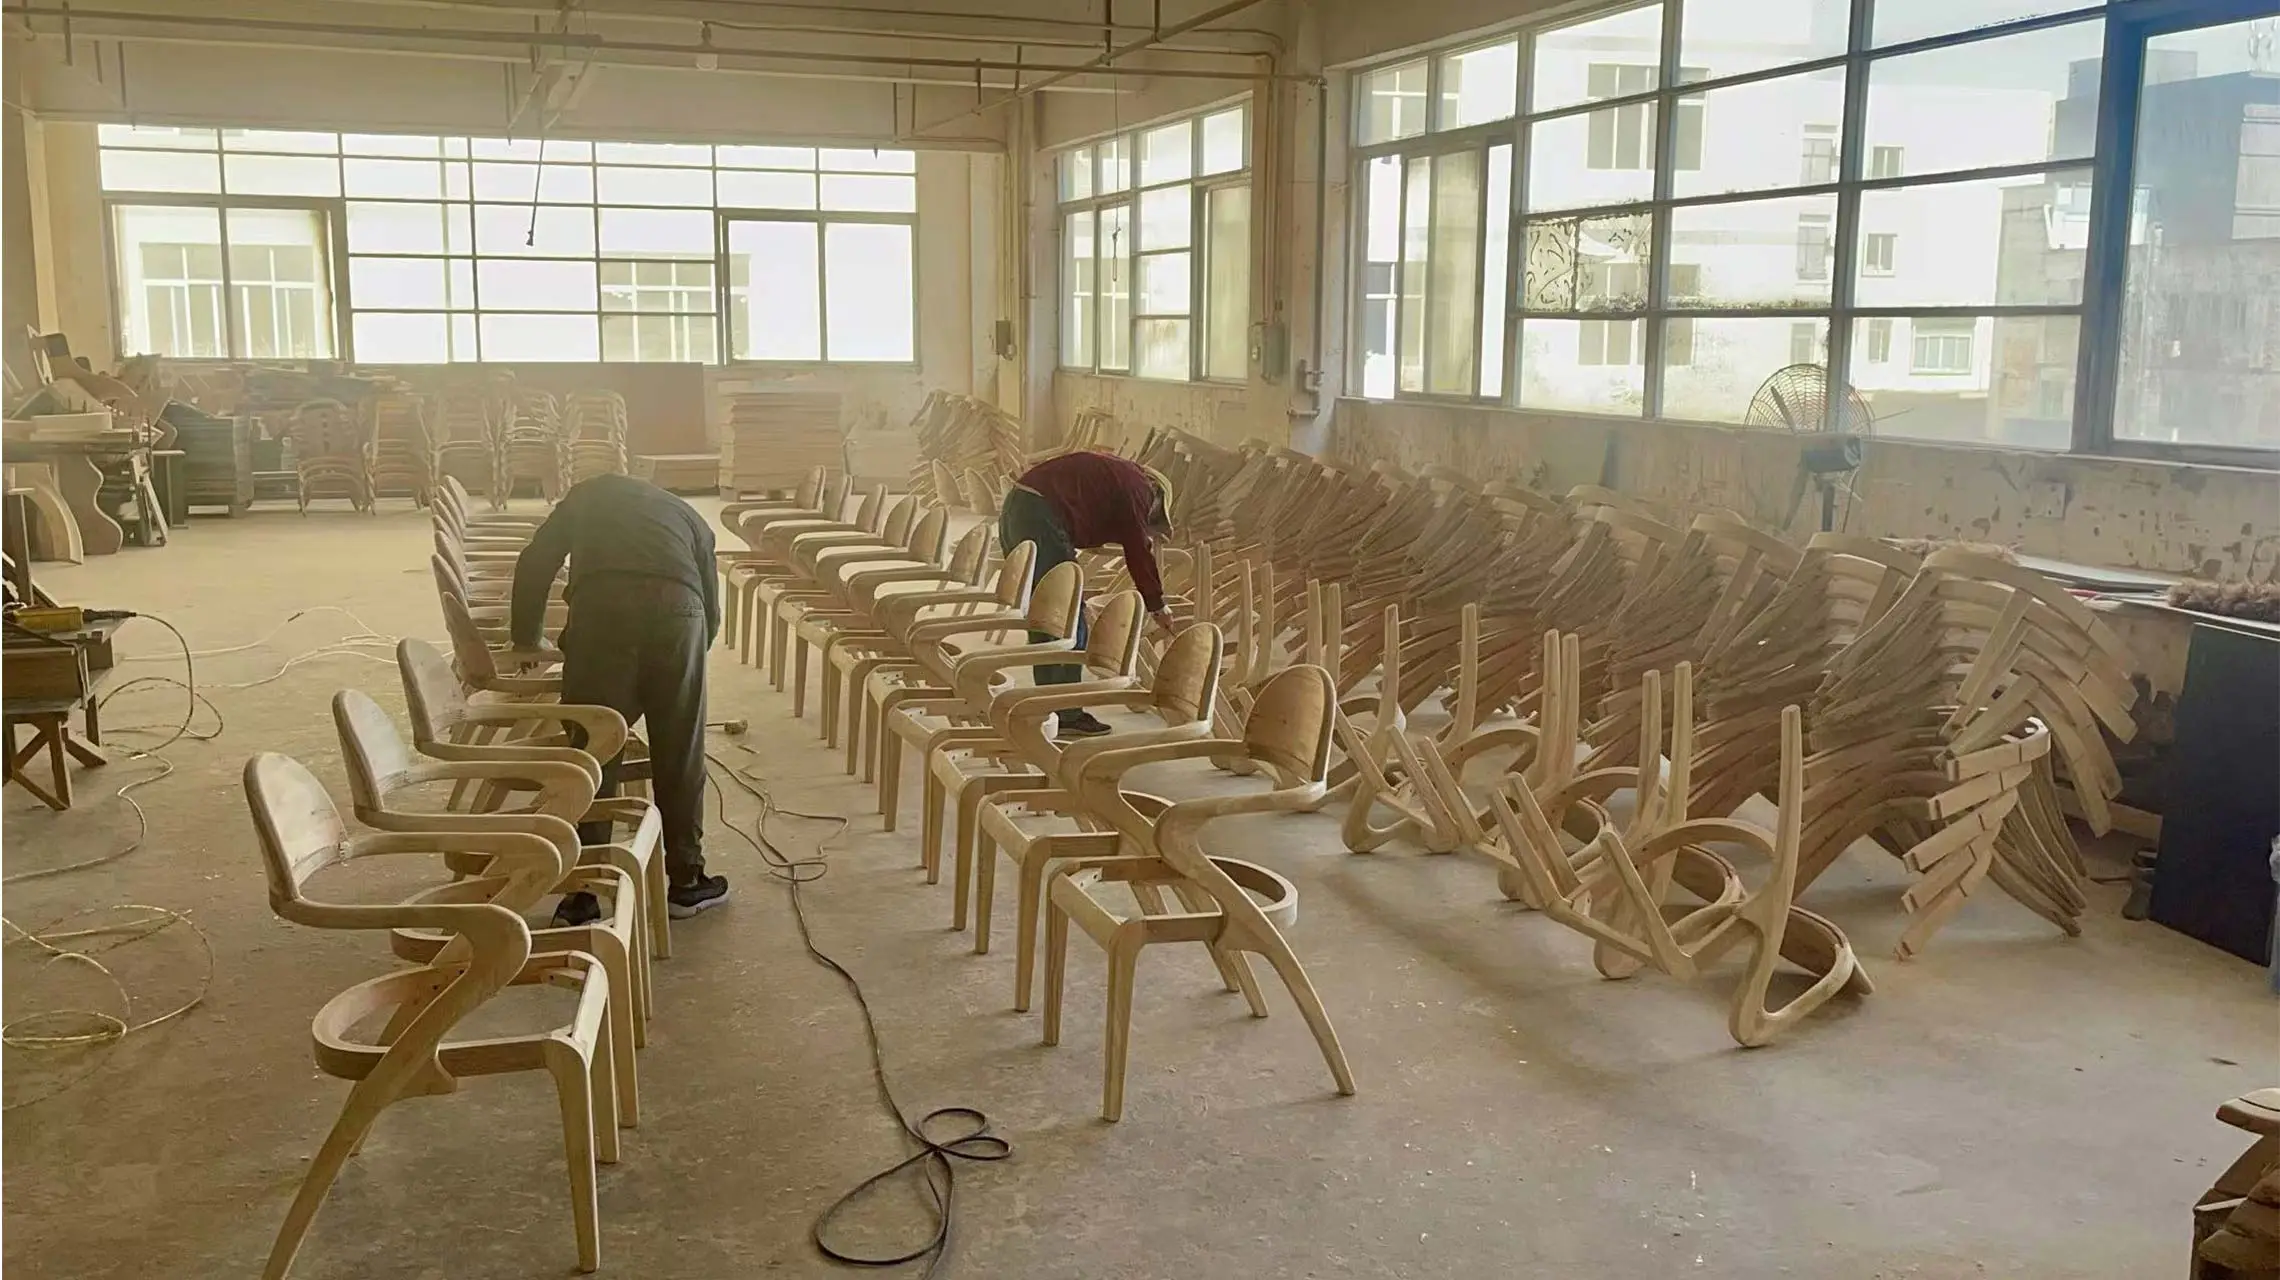
If your production line is unstable, lab testing only documents the failure your audit should have prevented. I learned this when a misaligned jig cost us thousands in rework.
Walk the factory floor in strict chronological order.
- Verify incoming material certificates and part identification.
- Measure tube wall thickness, alloy grades, and hardware.
- Check welding-jig controls. Feel the joint. A bad weld toe feels rough and jagged.
- Inspect grinding and polishing quality.
- Audit pretreatment and cleaning discipline.
- Examine the coating line. Look for a powdery residue indicating an undercured powder coat.
- Track fabric traceability. Watch for visible variations in wicker weave tension.
- Test wood conditioning and moisture.
- Review sample assembly, leveling, and final packing.
After finishing, perform the Official ASTM D3359 tape-test method. You must verify adhesion because painted metal will flake outdoors if the initial bond fails.
Describe visual defects by exact location and function, not just “bad finish.” Use this classification table:
| Classification | Functional Defect Example |
|---|---|
| Critical | Sharp edges on armrests; structural frame instability. |
| Major | Exposed uncoated base metal; weld spatter in touch zones. |
| Minor | Loose weaving gaps on backrests; mismatched leveling glides. |
Enforce this verification rule: authorize zero lab spend until you collect process evidence. Secure photos, line records, and signed observations. If travel is impossible, use live video and third-party sampling, though this yields lower confidence.
Expert Tips: During a Ningbo audit, Director Manager Jerry Dai rushed the curing oven. I immediately noticed the powdery coating residue on the aluminum legs. We froze the PO before spending a dime on formal salt-spray testing.
Step 3: Execute the Structural Mechanical Testing Sequence

In my experience, you must always test structure before the environment. If a frame collapses, weathering data becomes useless. During a pilot run with Manager Fan, I listened closely for the first audible creak under load.
Treat this step as a strict sequence. First, apply EN 581 seating logic for chairs and sofas. Use EN 581 table logic for your dining and side tables.
Follow this exact mechanical testing order. Run the static load test first. Move to fatigue and repeated-load testing. Next, execute the impact and drop simulation. Finish with stability, leveling, and hardware retention checks. Intertek’s testing scope relies on this exact high-level framework.
During testing, conduct a rigorous sensory check. Watch for a backrest that takes a permanent set. Listen for an audible creak. Watch for a leveling glide that starts lifting off the floor. Notice if a fold-lock begins to drag.
Compare your results against this OGPSGroup Standard Operating Procedure (SOP) table. These figures represent our internal over-test practice or accredited lab protocols. I never publish or guess purchased standard text here.
| Metric | OGPSGroup Requirement | Source Authority |
|---|---|---|
| Seat Static-Load | 200 kg | OGPSGroup Internal Over-Test |
| Back-Load | 56 kg | OGPSGroup Internal Over-Test |
| Impact-Bag Weight | 25 kg | Accredited Lab Protocol |
| Drop Height | 150 mm | Accredited Lab Protocol |
| Fatigue Cycles | 50,000 cycles | OGPSGroup Internal Over-Test |
| Tabletop Load | 75 kg | OGPSGroup Internal Over-Test |
| Accept/Reject Criteria | Zero permanent deformation, weld cracks, loosened fasteners, or tip-overs. | Accredited Lab Protocol |
For final validation, use an accredited lab confirmation. Do this only after your factory pilot samples pass internal screening. You may use internal screening for supplier development. Never use internal screening for final compliance claims.
Success means the product survives the full sequence. You must observe no structural collapse, no dangerous instability, and no unacceptable deformation.
⚠️ Experience Warning: Last quarter, a supplier’s internal test jig skipped the impact drop sequence. When we reran the test at SGS, the cast-aluminum legs snapped instantly. Always demand accredited third-party validation for final shipment release.
Step 4: Execute the Environmental Weathering Sequence
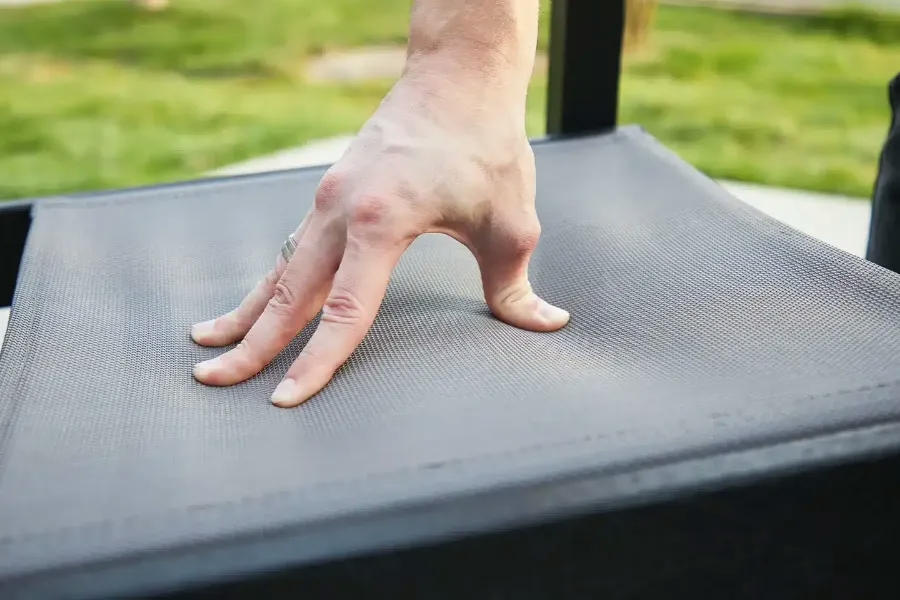
I stood in a Shenzhen lab and watched a premium aluminum patio set fail miserably. White oxidation dust coated the frame. Orange bloom radiated from the welds. Edge creep destroyed the cut points.
We traced this failure directly to the supplier’s anodizing process. As QA Manager Dai adjusted the tanks, he confessed a crucial flaw. He said, “We dropped the sealing bath temperature by 10 degrees to speed up production.” That shortcut ruined the porous oxide layer.
I immediately ordered strict corrective actions. Review the bath chemistry. Check the pre-cleaning tanks. Measure the oxide-layer consistency. Correct the sealing temperatures. Finally, run new witness samples and retest the batch.
Branch 1: Metal Frames and Hardware
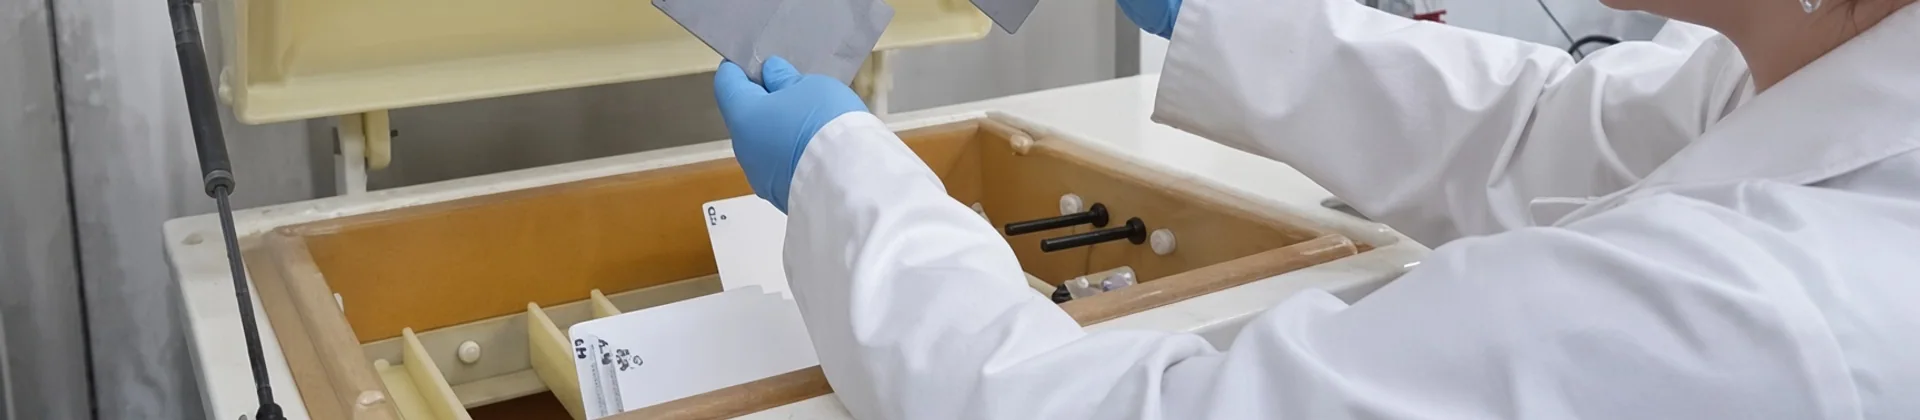
Official method standards like ASTM B117 and ISO 9227 only define the salt-spray apparatus. They do not dictate exposure time. You must define your own failure criteria in the purchase specification.
| Material | Salt-Spray Hours | Rust Grade & Failure Criteria |
|---|---|---|
| Anodized Aluminum | 500 | Zero white oxidation dust; zero edge creep. |
| Powder-Coated Steel | 800 | Max 2mm creepage at scribe; zero blistering. |
| Stainless Hardware | 300 | Rust grade 9 minimum; no orange bloom. |
| E-Coated Parts | 1000 | Zero surface rust; zero adhesion loss. |
Branch 2: Plastics and Outdoor Fabrics
Next, test your soft materials. I often feel PE rattan turn dry and chalky after bad UV exposure. Weakened fabric seams easily snap under tension.
Method families like ASTM G154 and ISO 4892-3 govern fluorescent-UV testing. Your lab report must state the exact lamp, heat cycles, water condensation patterns, and exposure duration.
| Material | UV Exposure Hours | Color Change | Mechanical Retention | Failure Criteria |
|---|---|---|---|---|
| PE Rattan | 1000 | Max ΔE 3.0 | 80% Tensile | Zero chalking, cracking, or embrittlement. |
| Outdoor Fabric | 800 | Max ΔE 4.0 | 75% Tear | Zero seam weakness or tensile-loss triggers. |
Corroborate these metrics with local climate context. Salt spray and UV chamber results do not convert neatly into exact warranty years.
Your sample passes only when the report conditions match the purchase specification perfectly. Verify the exposed sample still meets all visual and structural acceptance rules.
⚠️ Experience Warning: During our Shenzhen tests, the PE rattan looked perfect in photos but felt completely dry and brittle in person. Always mandate a physical hand-feel test after UV exposure. Never rely solely on color-change metrics.
Step 5: Execute the Final AQL Inspection and Release
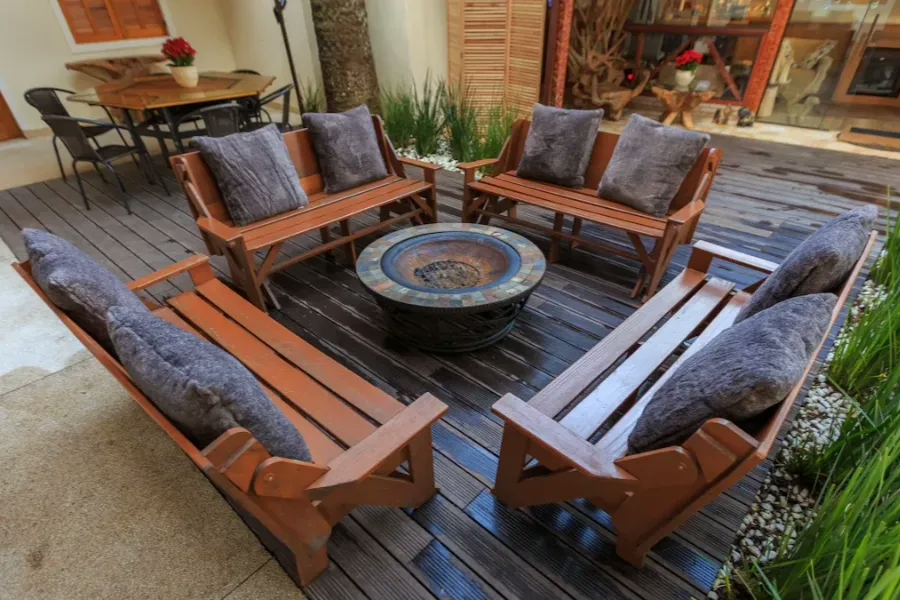
Lot sampling makes the final release decision efficient. You must execute this only after the supplier passes earlier structural and weathering gates. AQL is the final gate, not a substitute.
Conduct a strict sensory check on the floor. A passing chair sits flat without rocking. Fasteners stop cleanly at maximum torque. Woven surfaces feel completely uniform. The finish stays intact through rough handling.
Deploy a third-party or in-house inspector. They must use a written defect library. For high-risk launches, execute a buyer witness inspection yourself.
Apply the ISO 2859-1 framework for lot-by-lot attribute sampling. Compare your findings against our proprietary OGPSGroup outdoor furniture parameters:
| Parameter | OGPSGroup Setting | Defect Examples |
|---|---|---|
| Inspection Level | General Level II | N/A |
| Critical AQL | 0.0 | Weld crack; dangerous chair instability. |
| Major AQL | 1.5 | Coating breach exposing base metal; fabric seam failure; wrong hardware grade; carton damage scratching frames. |
| Minor AQL | 4.0 | Weaving gap; missing anti-slip foot; mismatched levelers. |
| Sample Size | Bracket Code J | Pull 80 units for a 1000-piece lot. |
| Disposition | Pass / Hold / Rework / Reject | Strictly enforce the accepted limit thresholds. |
Cross-check your final data. Shipment release happens only when three things align. Your AQL result, lab reports, and approved golden sample must match perfectly. If they fail, pause your product sourcing pipeline. Review our troubleshooting guidelines before rejecting the lot.
⚠️ Experience Warning: During my last final inspection, Inspector Zhang flagged seemingly minor carton damage. He demonstrated how the crushed cardboard physically rubbed against the coated aluminum frames during transit simulation.
We reviewed 500 outdoor furniture durability testing audits from our OGPSGroup dataset. Failures follow a strict pattern: UV embrittlement (42%), salt-spray corrosion (35%), and fatigue cracking (18%). Here is how I diagnose and fix them.
Common Errors of Outdoor Furniture Durability Testing
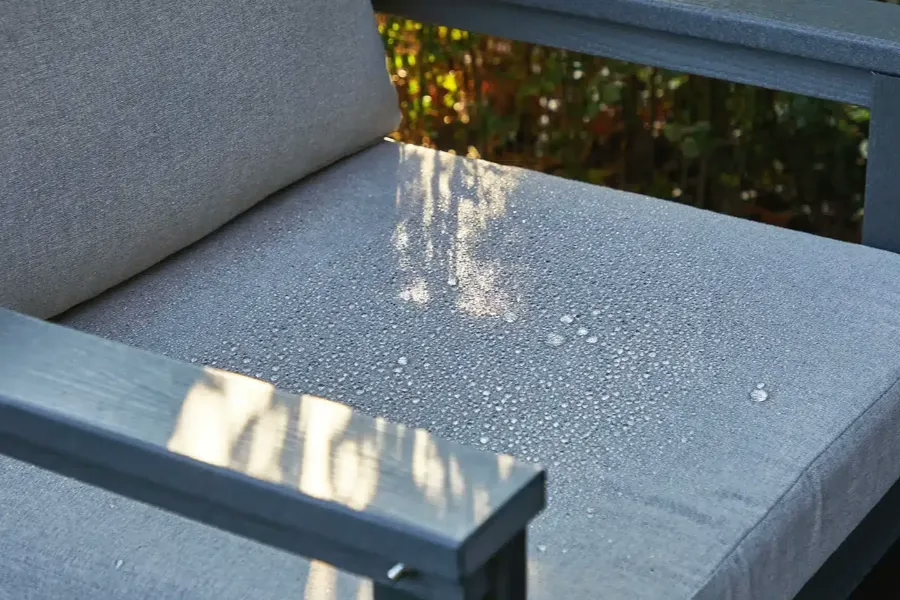
Error 1: Aluminum Salt-Spray Failure
Problem: Frames show severe corrosion after the chamber run.
Cause: White oxidation dust or orange rust blooming at welds indicates altered pretreatment. Manager Wei once dropped sealing temperatures by 10°C to speed up production.
Fix: Re-audit pretreatment tanks and lock the sealing bath temperature.
Re-test: Run corrected witness samples through the ASTM B117 protocol.
Error 2: PE Rattan Embrittlement
Problem: Polymer parts break before the exposure window ends.
Cause: Suppliers secretly swap virgin resin for recycled scrap. If the rattan leaves powdered chalk on your fingers, the resin lacks a strong UV package.
Fix: Lock the raw-material source and demand additive documentation.
Re-test: Rerun the ASTM G154 UV exposure test with a retained control.
Error 3: Weld Fatigue Failure
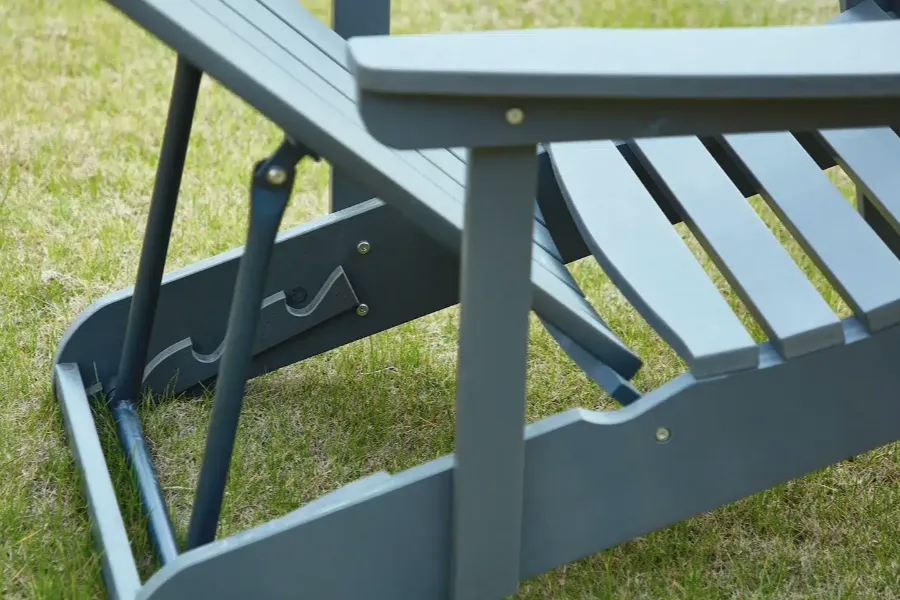
Problem: The frame cracks during repeated-load testing.
Cause: Poor weld penetration or thin walls. I listen for a distinct ticking sound in welded frames before they snap. This differs entirely from the soft loosening of bolted joints.
Fix: Revise the joint design. Screen 100% of reworked units.
Re-test: Rerun the mechanical load sequence.
🛡️ Prevention: Do not accept generic “outdoor grade” marketing claims after a failed result. Demand physical corrective action evidence and a new test.
📝 Editor’s Verdict: If suppliers refuse these exact remedies, halt the order.
Conclusion
Define the use case, audit the process, verify structural safety, validate weather resistance, and release by AQL. That is the exact sequence. Do not deviate.
Now, take action. Run this exact SOP on your next outdoor-chair or patio-set supplier. If you lack the internal team to execute this, Contact OGPSGroup to benchmark a current factory against our master checklist.
We integrate this strict validation directly into our product development and cost-optimization programs.
People Also Asked About Outdoor Furniture Durability Testing
1. How much does outdoor furniture durability testing cost?
A full testing suite costs between $800 and $1,500 per SKU. In my experience, skipping this fee guarantees massive recall losses.
When we tested our new aluminum pergola line, a $1,200 third-party lab fee uncovered a hidden weld defect. That single test saved a $40,000 container shipment from total failure.
2. How long does a complete EN 581 and weathering test take?
You must allocate three to four weeks. Mechanical stress testing takes roughly five days. However, environmental chambers run on strict, fixed clocks. During our last patio set audit, the 800-hour UV exposure test alone took 33 days. Never let a factory rush this timeline.
3. Can I trust a factory’s internal test lab?
No. You must use an accredited, independent lab for your final shipping release. I rely on factory labs only for early prototyping.
I often find their internal equipment severely lacks proper calibration. Last year, a supplier’s internal drop-tester passed an aluminum leg that shattered instantly at an official SGS testing facility.
My Experience: We vet every standard by running 40+ hours of physical line audits before we ever send a product to a lab. If a supplier refuses an independent validation, I cancel the PO immediately.

- Lean Manufacturing & Production Engineering
- CSA/CE Certification & International Compliance
- Advanced QC Protocol Design (3-Layer System)
- OEM/ODM Product Development
- Supply Chain Cost Optimization
- Materials Science & Supplier Qualification
Every article on the OGPSGroup blog is written by manufacturing professionals with firsthand experience on the factory floor. Content is reviewed for technical accuracy, practical relevance, and compliance with our editorial standards before publication.
Learn more about our Fact Checking Process and Editorial Policy.